Eye makeup is a powerful tool to enhance your features and express your style. However, for beginners, it can seem like a daunting task. From choosing the right products to mastering different techniques, the world of eye makeup can be overwhelming. But fear not, this comprehensive guide is designed to simplify the process and help you master the art of eye makeup. By the end of this post, you’ll be able to create stunning eye looks with confidence and ease.
This website contains affiliate links, that means when you make a purchase a receive a commission without any additional cost for you.
Understanding Your Eye Shape:
The First Step to Mastering Eye MakeupBefore diving into products and techniques, it’s crucial to understand your eye shape. Just like different clothing styles flatter different body types, certain makeup techniques enhance specific eye shapes. The five common eye shapes are:
* Almond Eyes: Considered the most versatile, almond eyes have a slight upward lift at the outer corners. They can pull off almost any eye makeup look.
* Round Eyes: These eyes appear more circular and open. The goal here is to elongate them and create a more almond-like appearance.
* Monolid Eyes: Characterized by a lack of a visible crease, monolid eyes often benefit from techniques that create depth and dimension.
* Hooded Eyes: In hooded eyes, the eyelid crease is hidden by a fold of skin from the brow bone. The focus should be on making the eyes appear more open.
* Downturned Eyes: The outer corners of downturned eyes appear to droop slightly. The aim is to lift and brighten the outer corners.Understanding your eye shape will help you tailor your makeup application, ensuring the most flattering results.

Essential Eye Makeup Products for Beginners:
Building Your Starter KitYou don’t need a professional makeup artist’s kit to get started. Here are the essential products every beginner should have:
* Eyeshadow Palette: Start with a neutral palette that includes matte and shimmer shades. Neutrals are versatile and perfect for everyday looks, allowing you to experiment with different combinations. Look for palettes with a range of light, medium, and dark tones.
* Eyeshadow Primer: This magical product creates a smooth canvas for your eyeshadow, making it more vibrant and long-lasting. It also prevents creasing, especially important for those with oily eyelids.
* Eyeliner: Begin with a pencil or gel liner for easier control. Black and brown are classic choices. As you gain confidence, you can explore liquid liners for sharper lines and more dramatic looks.
* Mascara: A good mascara can instantly open up your eyes and make them appear more defined. Experiment with different wands and formulas to find what works best for your lashes (volumizing, lengthening, curling).
* Eyebrow Product: Defined eyebrows frame your face and complete your eye makeup. Choose a pencil, powder, or gel that matches your hair color.
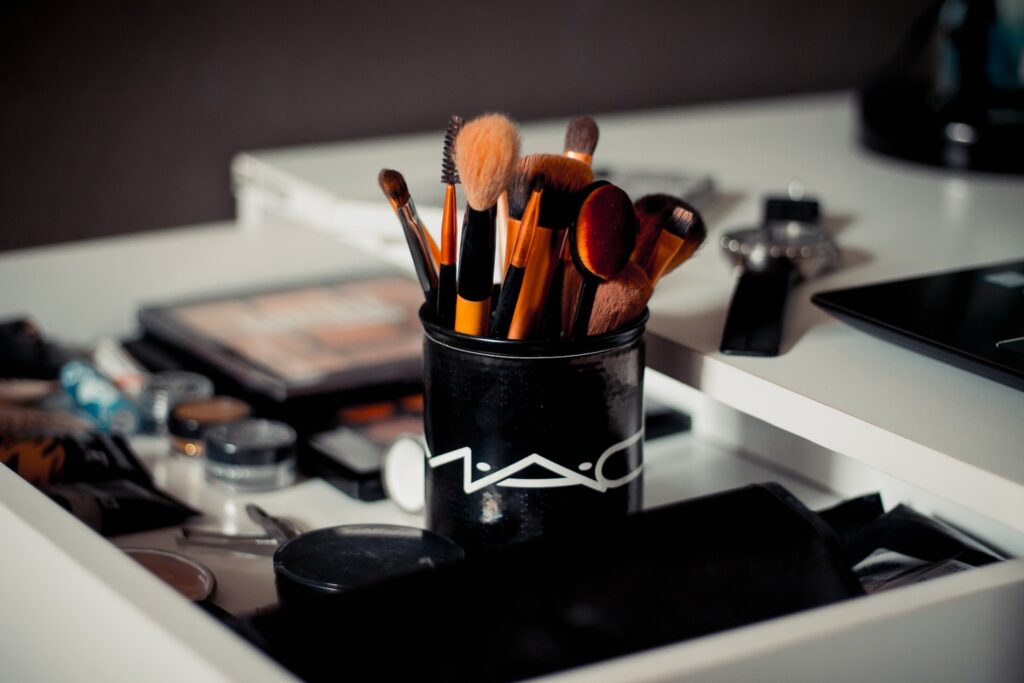
* Makeup Brushes: A few essential brushes will make a world of difference. Start with a fluffy blending brush, a flat shader brush, and a small angled brush for eyeliner or brows.
Step-by-Step Eye Makeup Application for Beginners:
Your Easy GuideNow that you have your tools, let’s dive into the application process:
Step 1: Prep Your Lids with Eyeshadow Primer
Apply a thin layer of eyeshadow primer evenly across your eyelids, from your lash line to your brow bone. Let it set for a few seconds before moving on. This step is crucial for longevity and vibrancy.
Step 2: Apply a Base Eyeshadow Shade
Using your fluffy blending brush, apply a neutral, light-colored matte eyeshadow all over your eyelid, from the lash line up to your brow bone. This creates an even base and helps with seamless blending later.
Step 3: Define Your Crease
Dip your fluffy blending brush into a slightly darker, neutral matte shade (a medium brown or taupe works well). Apply this color into your crease using windshield wiper motions. This adds depth and dimension to your eyes. If you have hooded eyes, apply the crease color slightly above your natural crease to create the illusion of a more open eye.
Step 4: Add a Lid Shade
Using your flat shader brush, apply a shimmer or a slightly darker matte shade to your eyelid. You can press the color onto your lid for more intensity. Experiment with different colors that complement your base and crease shades.
Step 5: Apply Eyeliner
For beginners, pencil or gel eyeliner is easiest. Start by drawing a thin line along your upper lash line, starting from the inner corner and working your way outwards. You can keep it thin for a natural look or build it up for more drama. If you’re feeling adventurous, try a small wing at the outer corner. For a softer look, you can smudge your eyeliner with a small brush.
Step 6: Apply Mascara
Curl your lashes with an eyelash curler before applying mascara. Then, wiggle the mascara wand from the base of your lashes to the tips, coating every lash. Apply two to three coats for maximum impact.
Step 7: Fill in Your Eyebrows
Using your chosen eyebrow product, lightly fill in any sparse areas in your brows. Follow the natural shape of your brows. Remember, brows are sisters, not twins!
Mastering Eye Makeup Techniques: Tips and Tricks for Beginners
* Start Small: Don’t try to create a super dramatic look on your first try. Begin with simple, natural looks and gradually experiment with more complex techniques as you gain confidence.
* Blend, Blend, Blend: Blending is key to seamless eye makeup. Use a clean fluffy brush to soften any harsh lines between colors.
* Less is More: It’s easier to add more product than to take it away. Start with a small amount and build up the intensity gradually.
* Practice Makes Perfect: The more you practice, the better you’ll become. Don’t get discouraged if your first attempts aren’t perfect.
* Lighting Matters: Always apply your eye makeup in good, natural lighting to see how the colors truly appear.
* Clean Up Mistakes: Don’t be afraid to use a cotton swab dipped in makeup remover to clean up any smudges or mistakes.
* Invest in Good Brushes: Quality brushes make a huge difference in application and blending. You don’t need a huge collection, just a few essential ones.
* Watch Tutorials: YouTube and Instagram are excellent resources for eye makeup tutorials. Watch different artists and try to replicate their techniques.
* Experiment with Color: Once you’re comfortable with neutrals, start experimenting with different colors that complement your eye color and skin tone.
* Don’t Forget Your Lower Lash Line: For a more complete look, lightly apply a small amount of eyeshadow (the same as your crease shade or a darker one) to your lower lash line using a small, precise brush.
Troubleshooting Common Eye Makeup Challenges for Beginners
* Creasing Eyeshadow: Use a good eyeshadow primer and set your cream products with powder.
* Smudged Eyeliner: Opt for waterproof formulas, and ensure your lids are prepped with primer. Setting your eyeliner with a matching eyeshadow can also help.
* Uneven Blending: Practice more, use a fluffy blending brush, and always blend in circular or windshield wiper motions.
* Makeup Fallout: Apply your eye makeup before your face makeup, or use an eyeshadow shield under your eyes to catch any fallout. You can also press your eyeshadow onto your lid instead of swiping.
Conclusion: Embrace the Art of Eye Makeup
Mastering eye makeup is a journey, not a destination. It’s about experimenting, having fun, and finding what makes you feel confident and beautiful. By understanding your eye shape, building a basic kit, and following these step-by-step instructions, you’re well on your way to creating stunning eye looks. So, grab your brushes, unleash your creativity, and let your eyes do the talking!

Leave a Reply